
Bathroom leaks are more than just a minor inconvenience; they can lead to significant water damage and mould growth if not addressed promptly. Detecting and repairing leaks early can save you from costly repairs and prolonged headaches. This guide will walk you through the essentials of bathroom leak repair, helping you identify issues, perform necessary repairs, and take preventative measures to keep your bathroom in top shape.
Identifying Bathroom Leaks
Detecting a bathroom leak early is crucial. Look out for signs such as unexplained increases in your water bills, water stains on walls or ceilings, and persistent dampness around fixtures. Leaks can originate from various sources in your bathroom, including toilets, sinks, showers, and bathtubs. Identifying the source of the leak accurately is the first step in effective repair.
Common Causes of Bathroom Leaks
Several factors can contribute to bathroom leaks:
Faulty Seals and Gaskets: Over time, seals and gaskets around fixtures like toilets and sinks can degrade, leading to leaks.
Cracked or Damaged Tiles and Grout: Cracks in tiles or grout can allow water to seep into the underlying structure, causing damage.
Old or Damaged Pipes: Pipes that are old or damaged may develop leaks, particularly in areas with high water pressure.
Step-by-Step Guide to Repairing Bathroom Leaks
Inspect and Diagnose the Leak
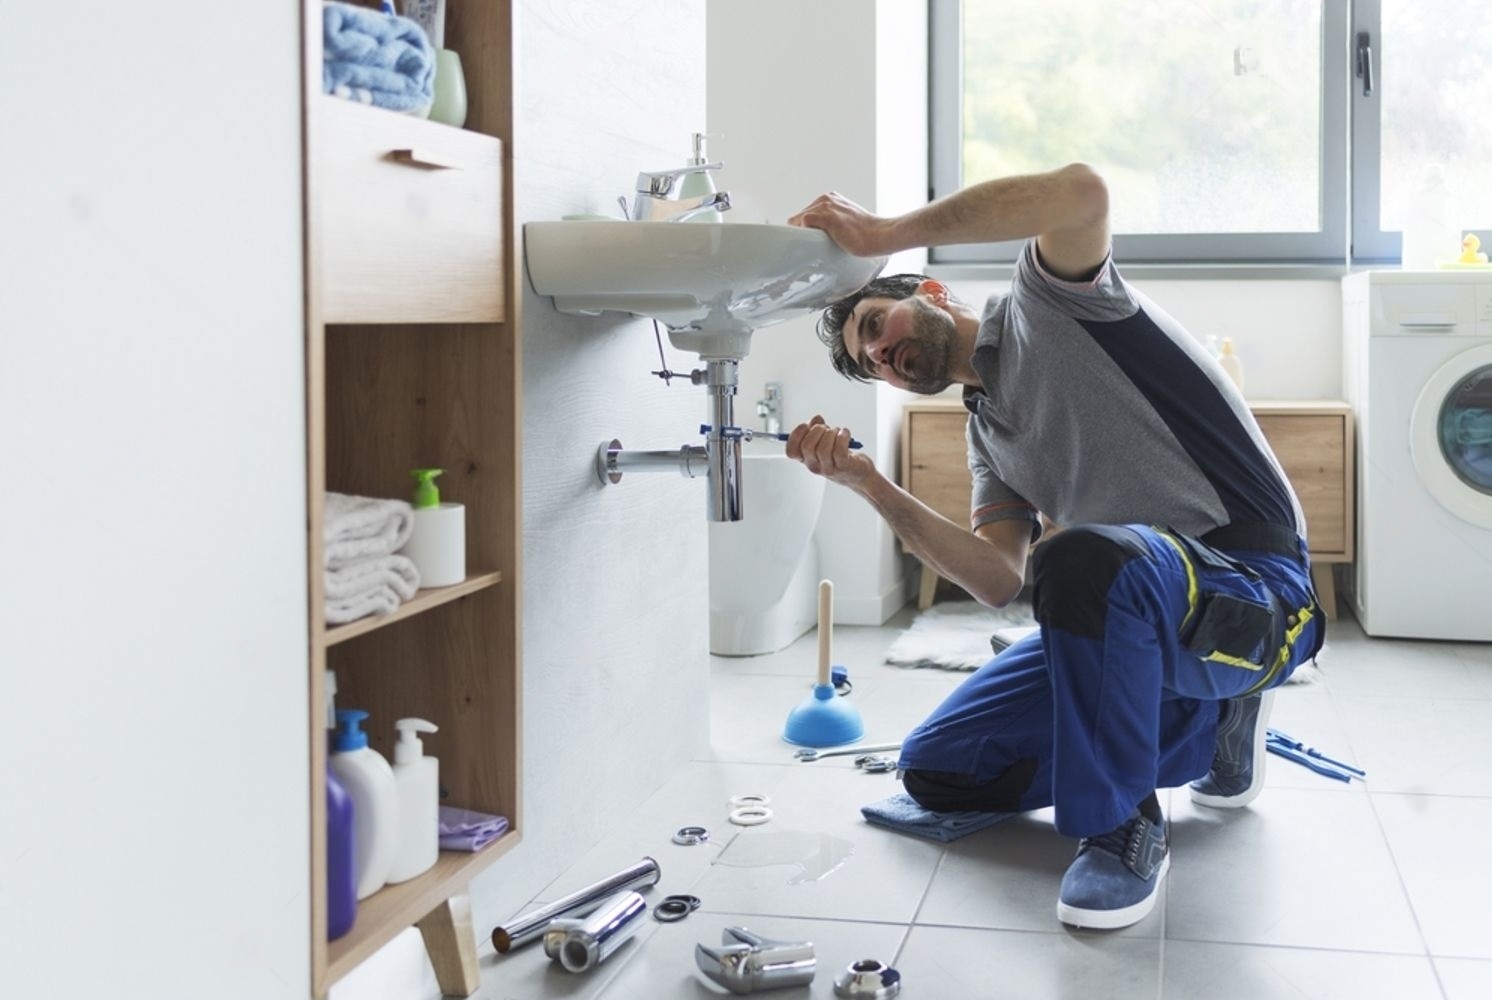
Begin by thoroughly inspecting the bathroom for signs of leaks. Check around the base of toilets, sinks, and bathtubs, as well as any visible pipes. Use a moisture meter if necessary to detect hidden leaks. Having the right tools and materials, such as a wrench, sealant, and replacement parts, will make the diagnosis and repair process more efficient.
Fixing Common Leak Sources
Repairing or Replacing Seals and Gaskets: If you find leaks around fixtures, it’s often due to faulty seals or gaskets. Replace these components with new ones, ensuring a proper fit to stop the leak.
Regrouting and Resealing Tiles: For leaks caused by cracked tiles or grout, remove the damaged grout and apply new grout. Sealing the tiles properly will prevent water from seeping into the walls.
Pipe Repair Methods and Materials: If the leak is due to damaged pipes, you may need to replace sections of the pipe or use a pipe repair kit. Ensure the repair is secure to prevent future leaks.
Testing the Repair
After completing the repairs, it’s essential to test the area to ensure the leak is fixed. Run water through the fixtures and monitor the repair site for any signs of leakage. Keep an eye on the area over the next few days to confirm that the issue has been resolved.
Preventative Measures
Preventing future leaks involves regular maintenance and monitoring. Inspect seals and gaskets periodically and check for signs of wear and tear. Regularly clean and seal grout lines to protect against water damage. Additionally, consider using products designed to prevent leaks, such as water-resistant sealants and repair kits.
Professional Help vs. DIY
While DIY repairs can be cost-effective, there are times when professional help is warranted. If you’re unsure about the source of the leak, or if the repair involves complex plumbing work, hiring a professional plumber may be the best option. Professionals have the expertise and equipment to handle even the most stubborn leaks efficiently.
Takeaway
Addressing bathroom leak repair promptly is essential to prevent water damage and maintain the integrity of your home. By following these guidelines, you can effectively tackle common leak issues and take steps to avoid future problems. Whether you choose to handle repairs yourself or seek professional assistance, ensuring your bathroom remains leak-free will provide peace of mind and protect your home from unnecessary damage.